

Install AnswerKit in 2 minutes
Installing changes nothing visible: the FAQ stays hidden from visitors until you turn it on. You can install during business hours, with no risk for your sales.
What you need
- The answerkit-1.6.3.zip file downloaded after your purchase on adlx.studio.
- Back office access with the right to install modules.
- PrestaShop 8.0 or later, PrestaShop 9 included.
On a Mac with Safari, the zip is sometimes unzipped automatically when downloaded. PrestaShop needs the .zip file: download it with another browser, or compress the
answerkitfolder again (right click > Compress).
1. Upload the module
- In the back office, open Modules > Module Manager.
- Click Upload a module, at the top right.
- Drop the zip file in the window, or click to select it.
- PrestaShop installs the module and shows Module installed!. Click Configure.
Installing creates three tables (questions, texts per language, links), a Catalog > FAQ (AnswerKit) menu and a FAQ tab in every product page.
2. Clear the cache
Open Advanced Parameters > Performance and click Clear cache, at the top right. This matters if your shop combines and caches its CSS files: without it, the accordion style may not be loaded.
3. Check
The configuration page opens on the Status panel:
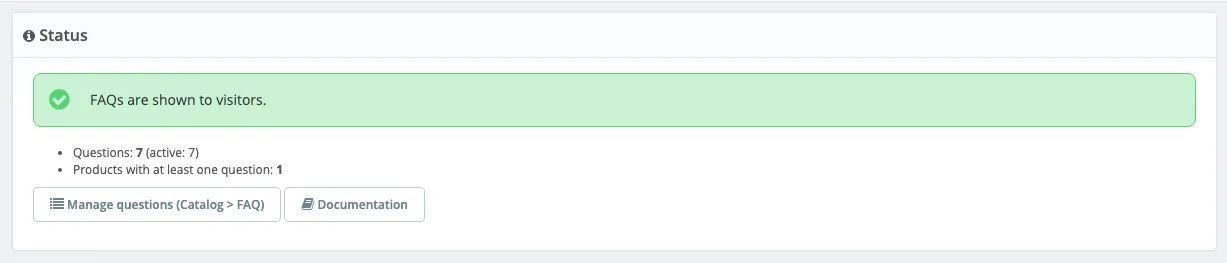
- The orange message FAQs are hidden from visitors is normal after installing.
- The Documentation button opens this guide.
Now move on to the first setup: a first product FAQ in 5 minutes.
Update AnswerKit
- Download the new version (the number is in the file name).
- Modules > Module Manager > Upload a module, and drop the new zip, just like an installation. PrestaShop replaces the files and runs the update.
- Clear the cache (Advanced Parameters > Performance).
Your questions and settings are kept. The installed version shows at the bottom of the configuration page: AnswerKit v1.6.3 - by ADLX Studio.
Do not uninstall the module to update it: uninstalling deletes all your questions. See Troubleshooting, “Uninstall” section.